
Fiberlash Fever!!
For any and all ladies out there who have struggled with finding the perfect mascara, let me start by saying I feel your pain! My lashes are blonde and therefore nonexistent without mascara. To add insult to injury, they curl naturally making it almost impossible to get most mascara to apply without globs and clumps. I usually have to stick with the Maybelline and Covergirl mascara with the rubber brushes which comb out the clumps. If I have some extra cash I also really like Benefit “They’re Real” mascara which has a similar rubber applicator brush. I have to say, though that my lashes definitely still look “real” with that mascara. Which brings me to my next point… When it comes to our lashes, the bigger the better! I have always been obsessed with that big butterfly voluptuous lash look. I usually fall back on falsies if I have a special occasion to attend or go out for a night on the town with my girls. That is if I have time to apply them because let’s be honest, that’s a chore in itself.
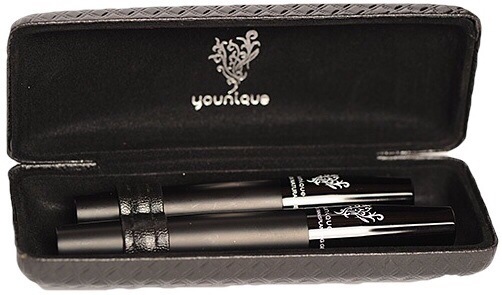
One day, I was clicking around on Instagram when I kept seeing this mascara that everyone was talking about called Younique Moodstruck 3D Fiberlash Mascara. I have to admit I was suspicious at first since I had tried mascara with lengthening fibers before and the brush seemed to just brush them right off. Still curious though, I found a Younique rep and followed her Instagram page so I could decide if it was something I wanted to try. I’ve spent $30 on worse things after all. Finally, after seeing all of the pictures of these huge lashes, I decided to order some.
At first the application was tricky and time consuming. I had to practice a few times before mastering the technique. (And by a few times, I mean like 7 times). It does take a little bit of time because it’s a 4 step process…
First, you apply one coat of your normal mascara. Then, you apply the Moodstruck Transplanting Gel to your lashes. Immediately following, and while the gel is still wet, apply the Moodstruck Natural Fibers and reapply the Transplanting Gel a second time to secure the fibers onto your lashes.
The first few times, I tried applying an entire coat of the gel all the way down to the base of my lashes and doing the same with the fibers and the top coat of gel. I’ll be the first to tell you, this is not the way to go about it. The fibers were going every which way and I had big spidery-looking lashes for a couple days.
The next thing I tried was applying the fibers directly to my own mascara and coating it with the gel top coat. This looked the most natural, however I don’t know that the fibers stuck and my lashes didn’t really look much longer.
On my third attempt, I decided to skip my own mascara and use a layer of gel, the fibers and then seal it with the gel. What a mess… that didn’t work at all.
On my fourth and final attempt, I did have results that pleased me. Here is how to get the optimal results:
1. Apply one thin coat of your own favorite mascara
2. Only at the very ends of your lashes, apply one coat of the transplanting gel
3. Very quickly, apply the fibers ONLY TO THE ENDS!!! (This is key!)
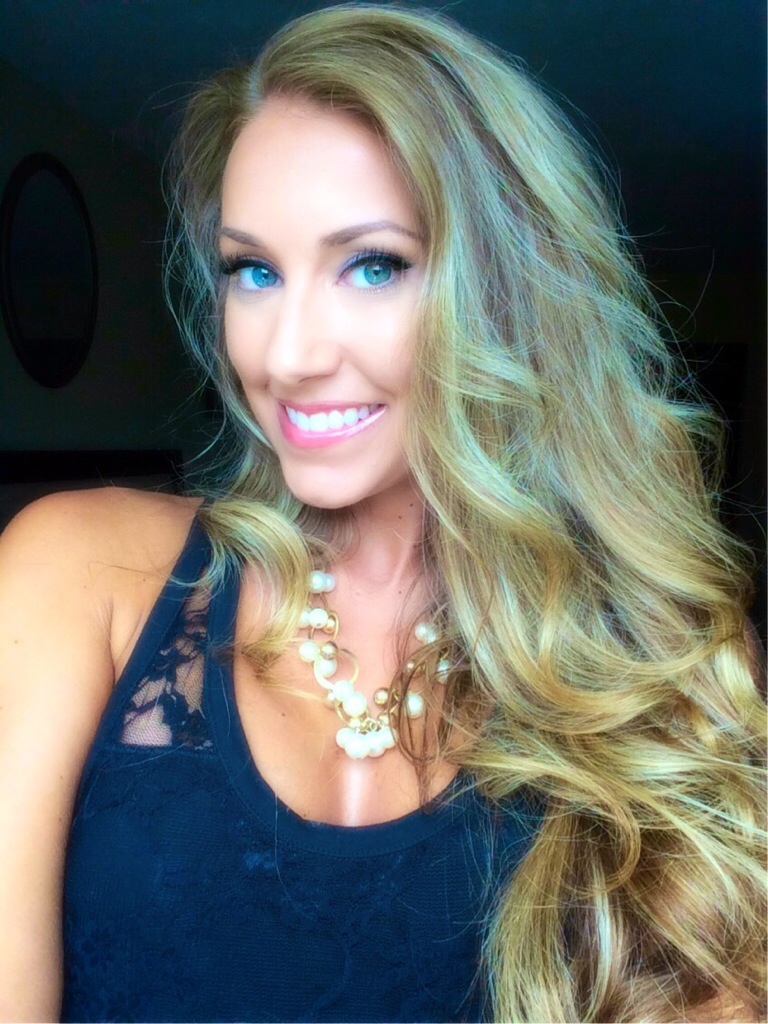
4. Seal with a good coat of the transplanting gel to lock it in. This straightens out the fibers and creates that lengthy bold butterfly look that I love!
I’m serious ladies, you have got to try this mascara! Stop fussing around with falsies and accepting mediocre lashes. Get a hold of me if you’d like me to put you in touch with my rep, or you can purchase products directly here.
Until next time! 🙂
